I grew up playing all the 90s games and I still love them. For quite a sometime I am now using VirtuaNES emulator to do retro gaming on my Windows machine. There are other NES emulators out there but this is the one I have been using now for a while and it has been good so far.
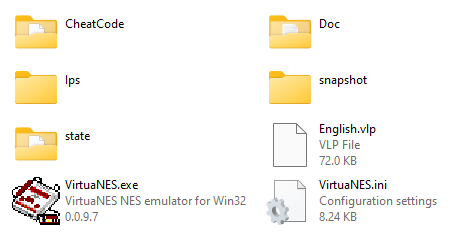
To setup VirtuaNES emulator on Windows, download it from here and here. Once you download the zip file, extract the content to any folder and double click the VirtuaNES.exe to run the emulator.
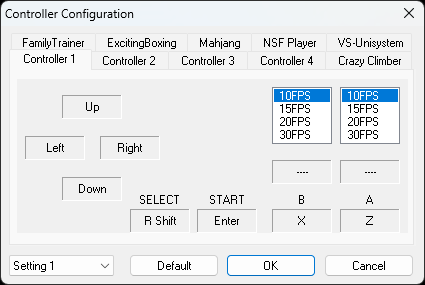
After the emulator is launched, we can start configuring the sound and controller. If you are a keyboard person, then no configuration is needed, you can instantly load a ROM and start playing the game. The default keys are as follows (yours might look a little different):
Go to Options -> Controller to change the keyboard bindings or your controller bindings.
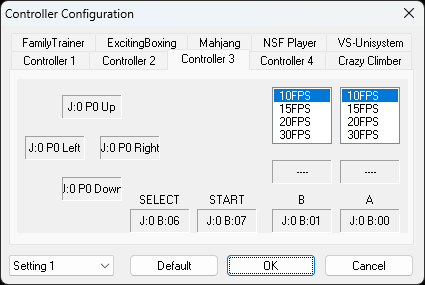
XBOX One controller is also compatible and you can configure it easily. Make sure to turn on or plug in the controller before you start the emulator.
Here is the screenshot of the bindings of my XBox One controller.
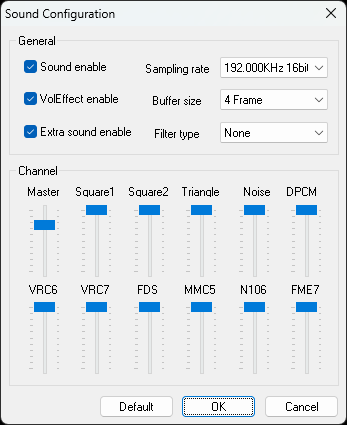
For configuring the sound settings, go to Options -> Sound
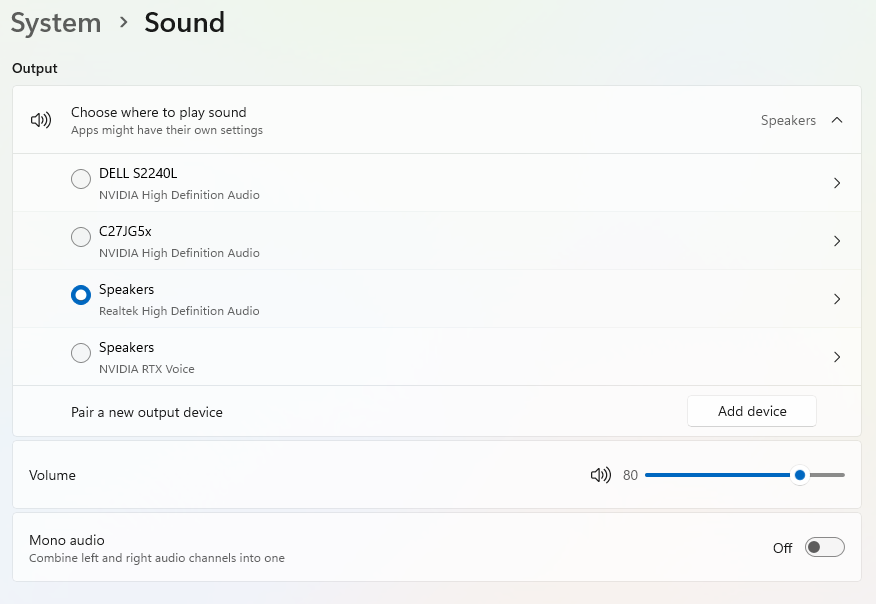
Even after setting up the sound, there is a chance that you can’t hear it when you play the game. That is due to a setting in the audio settings section in Windows. Refer the below screenshot and check whether the Mono audio is off or on. If it is off, then you have to turn it on and that will solve the sound problem in the emulator.
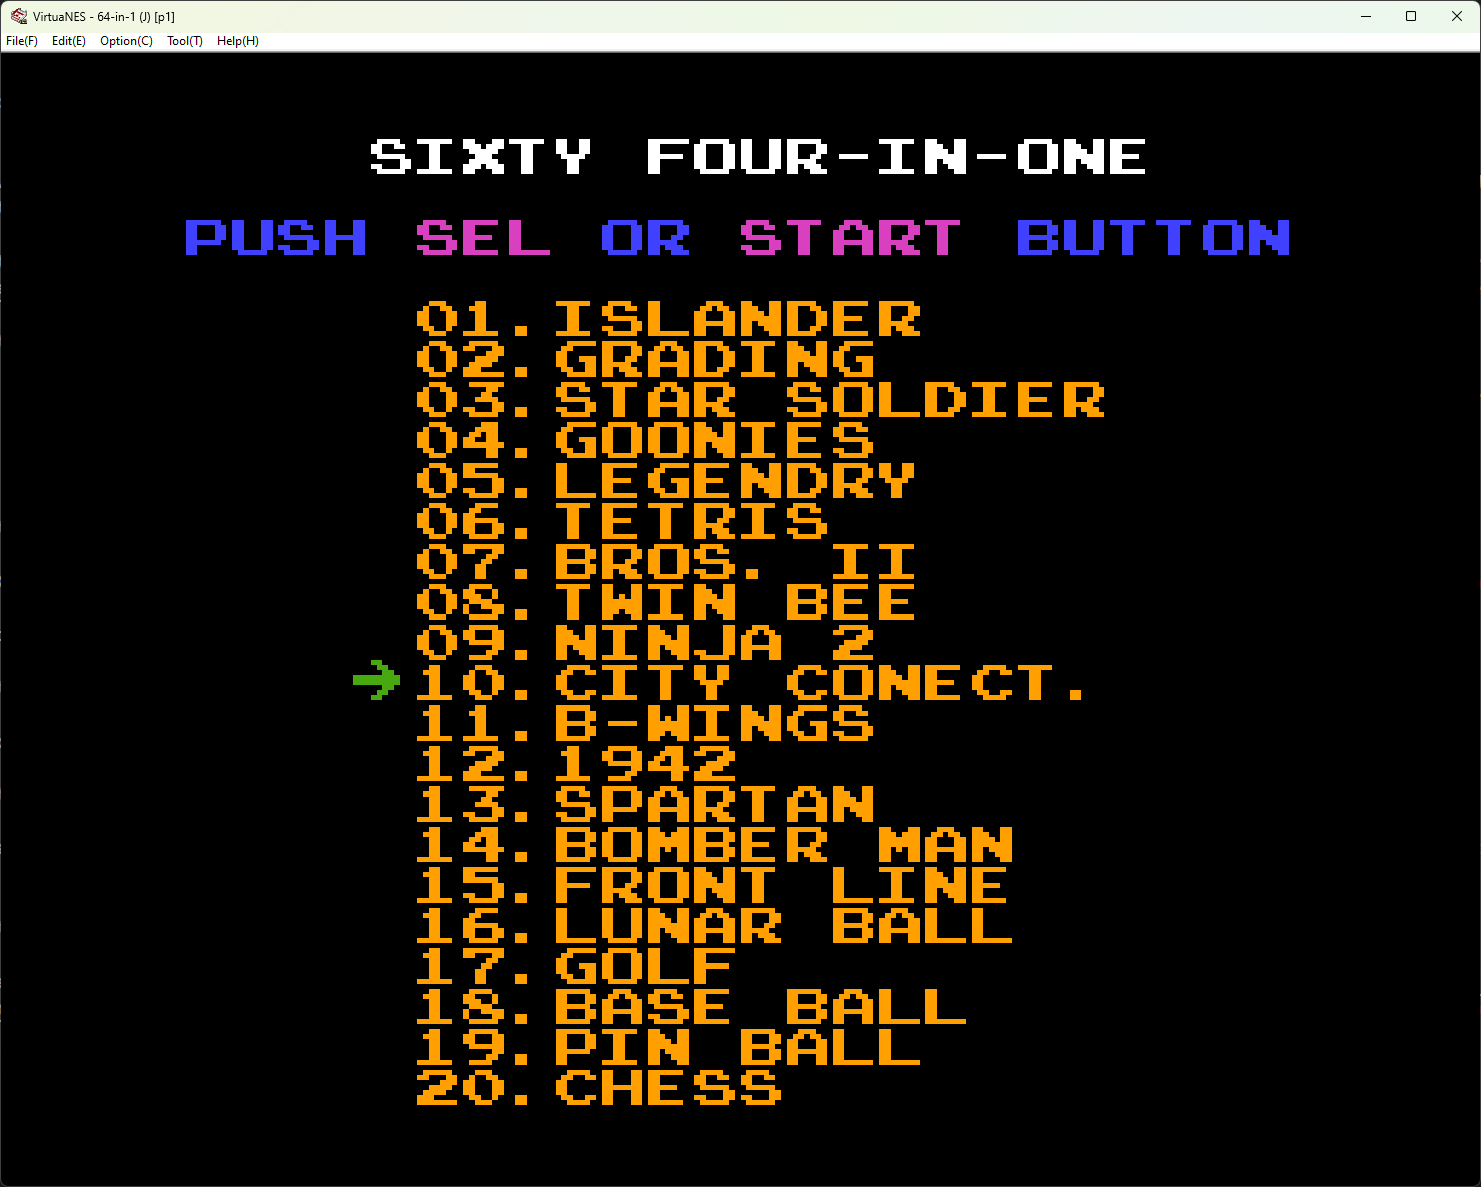
All set now!! Let’s get some games or ROMs as we call it and load it in the emulator. I downloaded few ROMs from Emulatorgames.net. Extract the zip file and load the ROM in the emulator by going to File -> Open. You should now see your childhood retro gaming console in front of you.